Apply a Custom Theme to an App on a Server
If you want to apply a custom theme, you have to build the theme locally on your computer as described in the previous topic - Set up a Custom Theme.
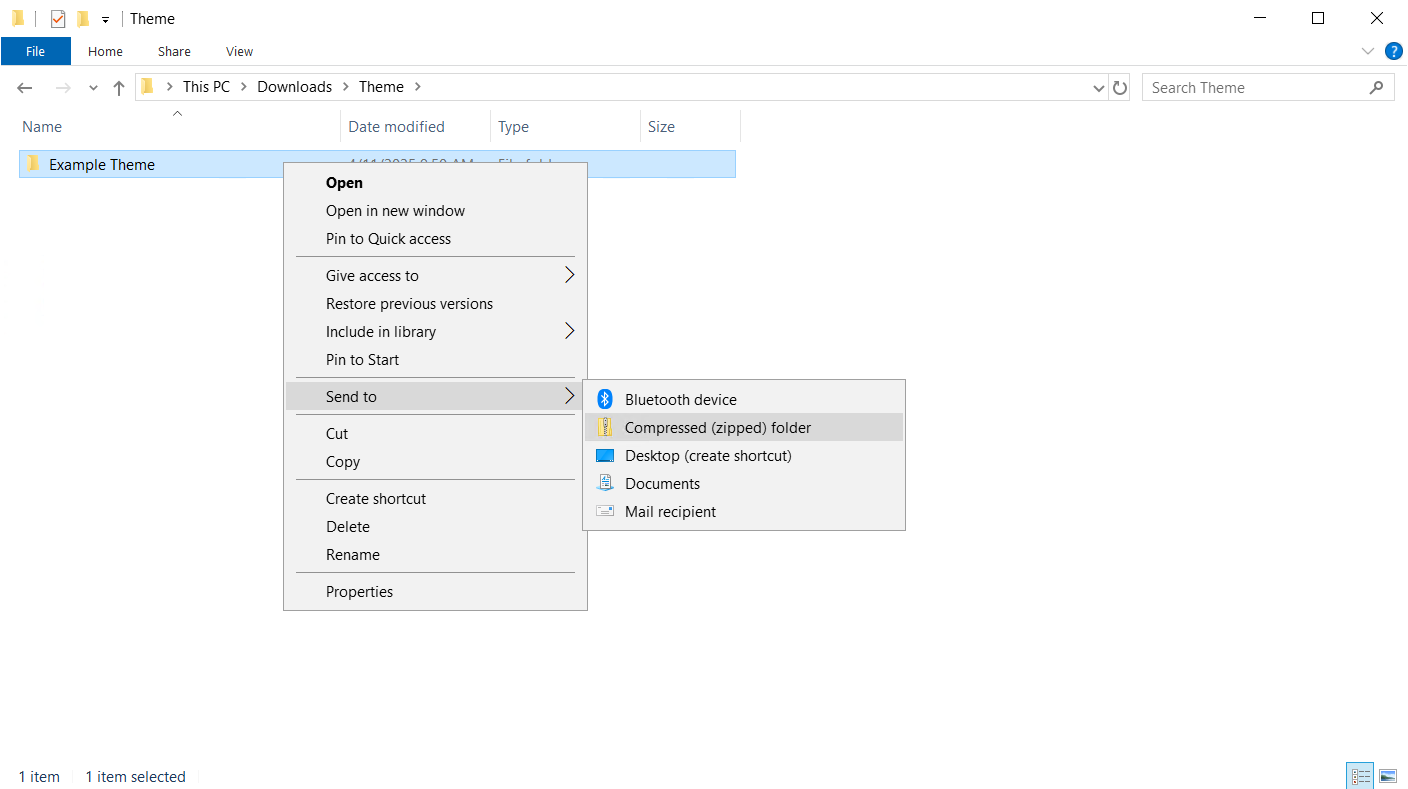
When you are done creating the theme, you have to zip all five files in the theme folder.
Cloud
-
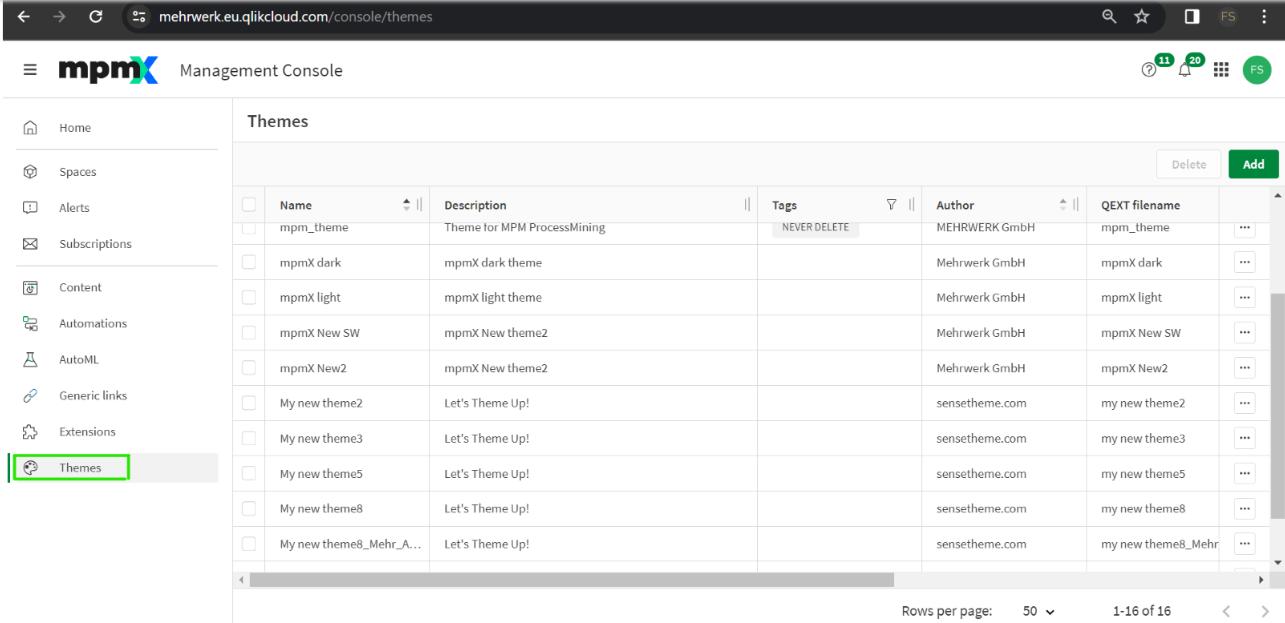
The new zip-file has to be uploaded in the Theme section in the Management Console.
Upload Zip to QMC -
Click “Add” in the upper right corner and drag & drop the zip file.
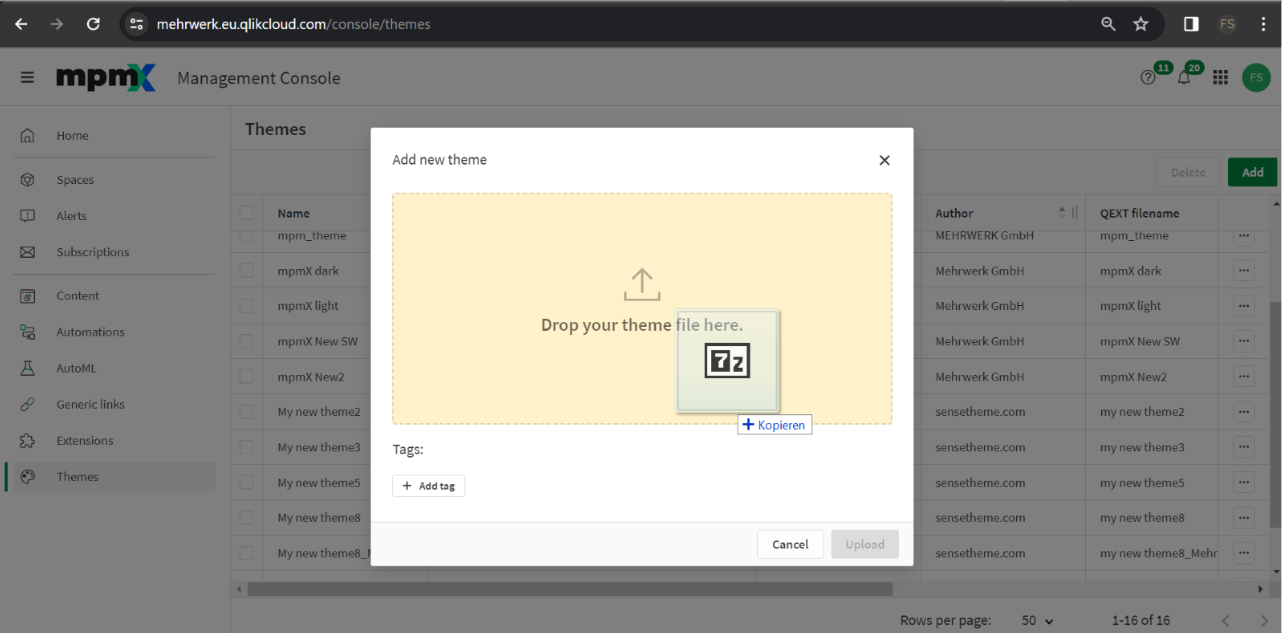
Click "Add" button and drop your theme file here
After the theme has been added, it should be applicable just like on a local app.
On Premise
-
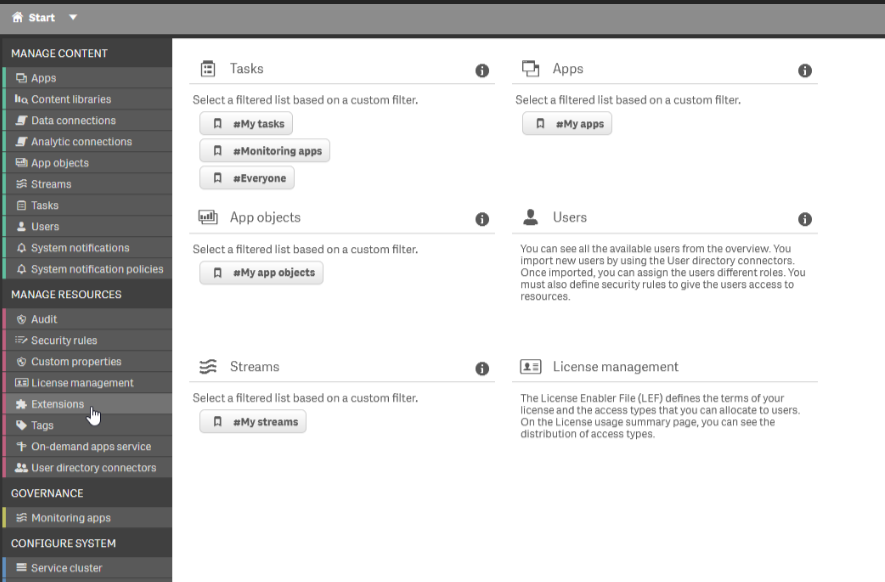
The new zip-file has to be uploaded as a new extension onto the server via the QMC. In the QMC select “Extensions”.
Extensions Tab -
Inside the extensions dashboard, select the "+ Import button
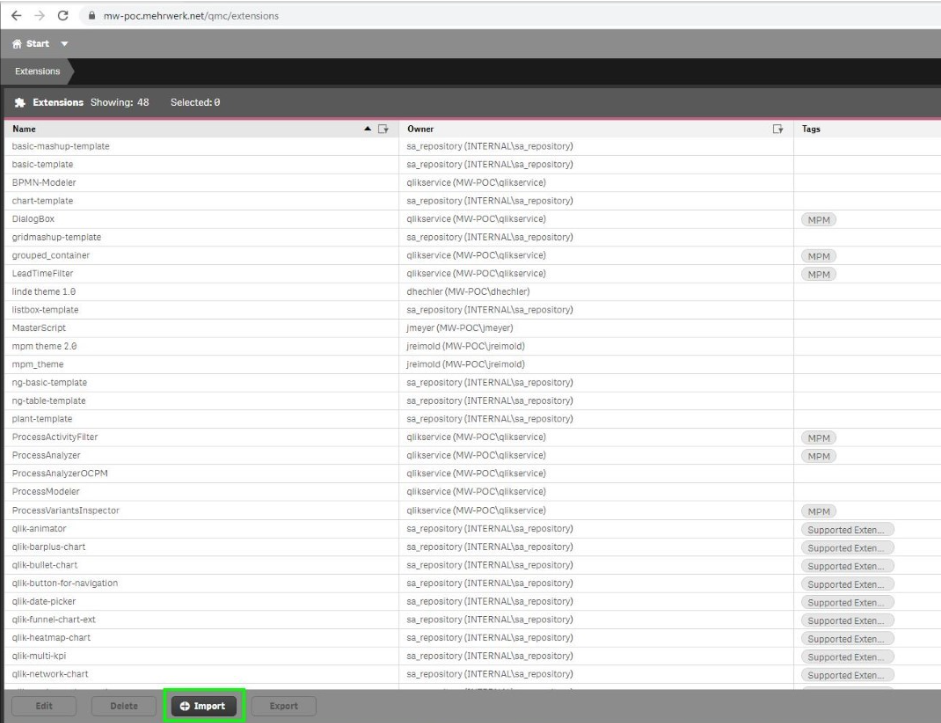
+ Import Button -
Search for the zip file, select it, and click "Import" to import the theme.
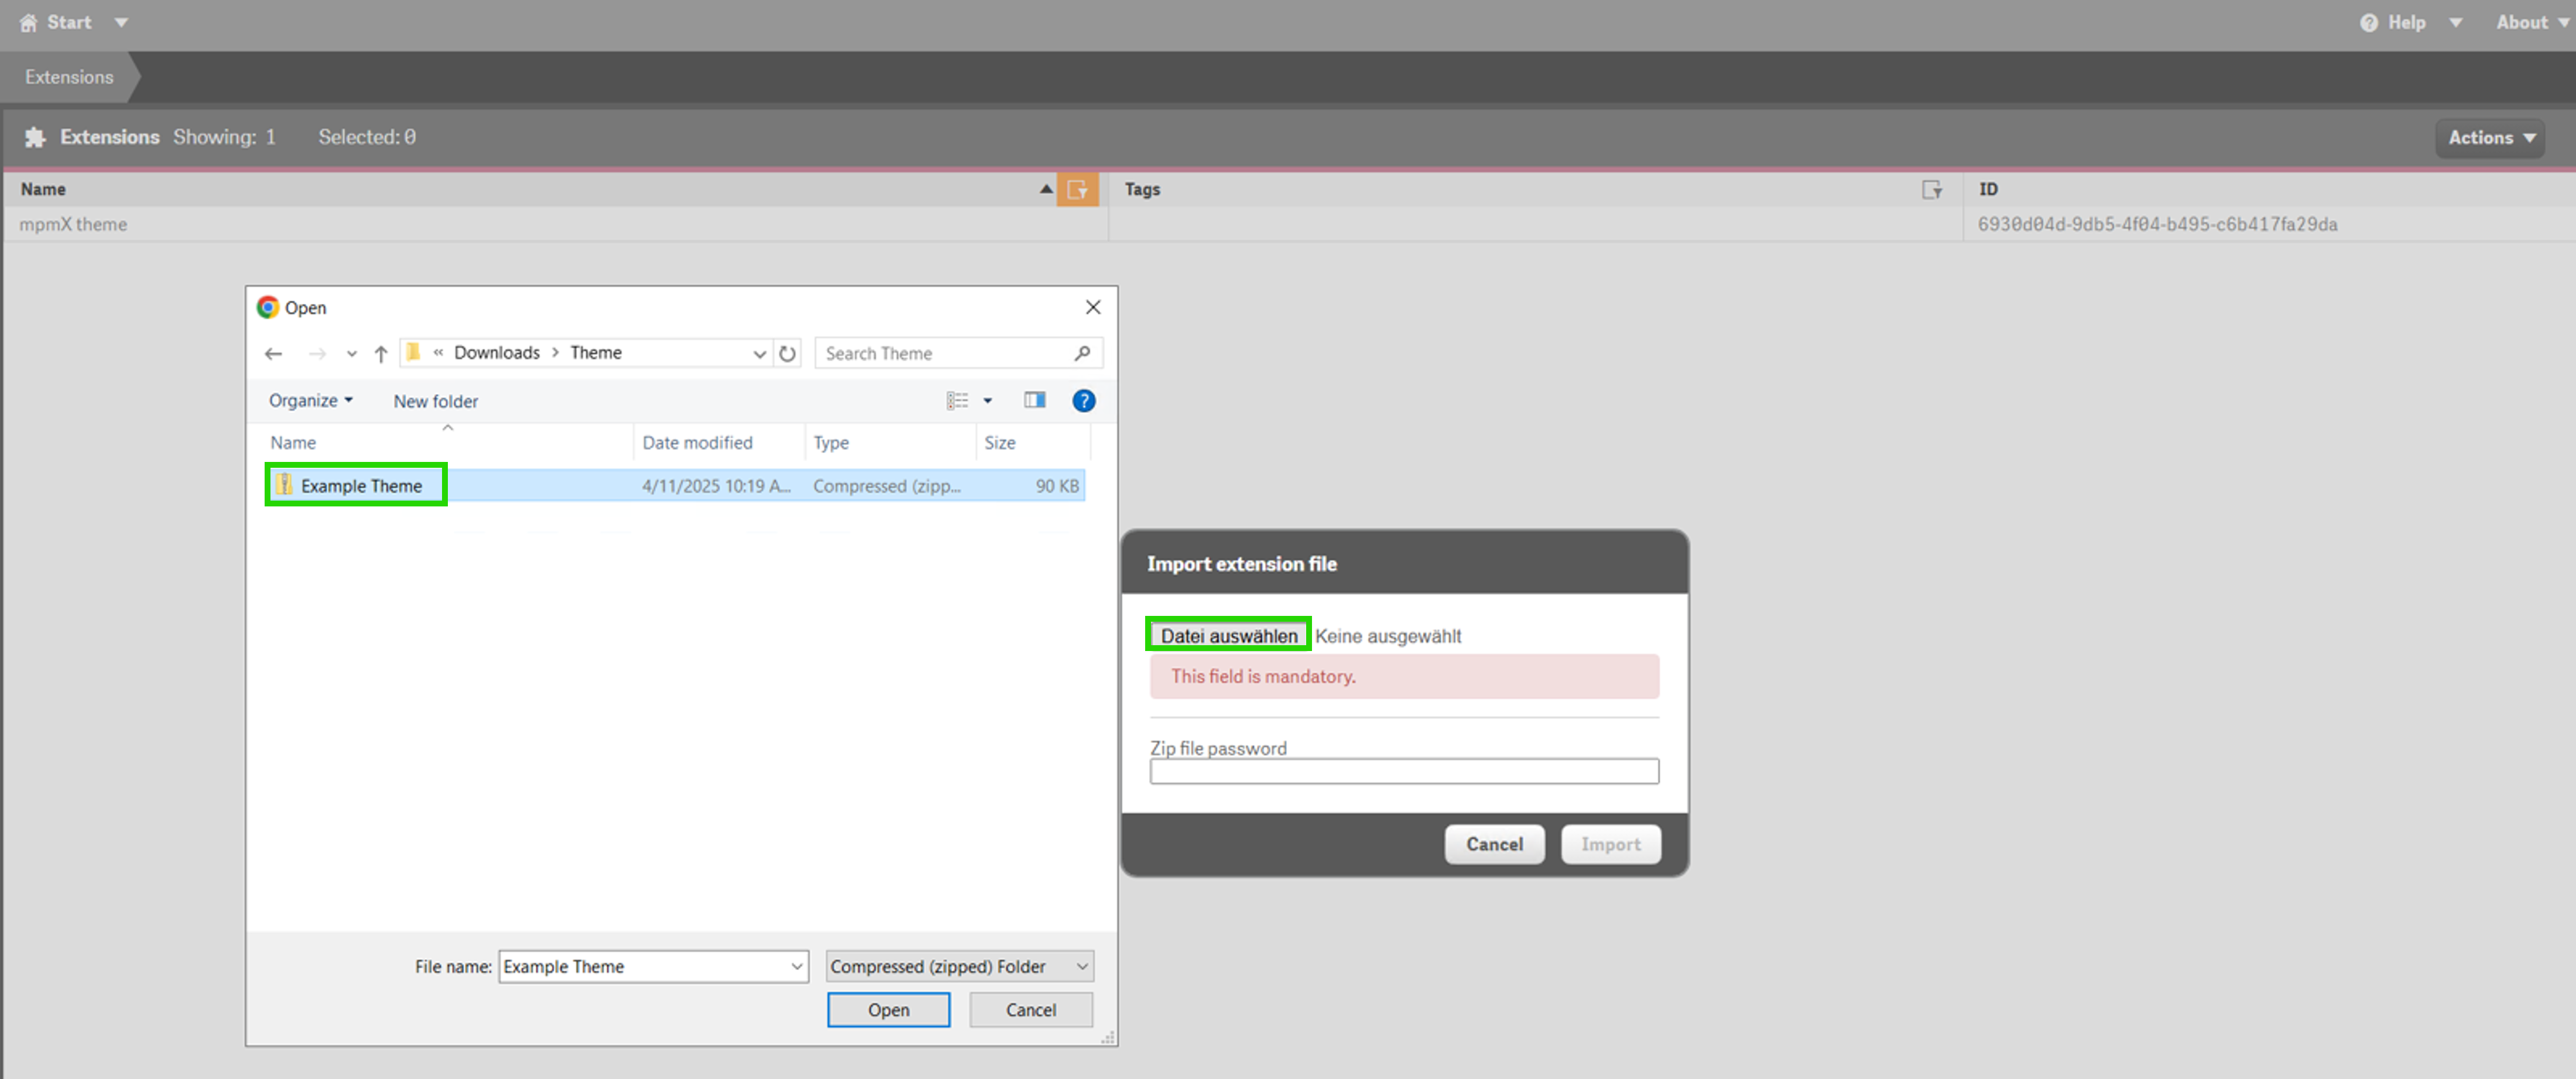
Import the theme
After importing the theme, it should now be applicable just like on a local app.
Remember, that themes can only be changed in non-published apps. Therefore, if you want to change the theme in an already published app, make a DEV copy of the app in your own workspace on the server and then republish it, after having applied the new theme.
Changing a Theme
💡 Remember: Themes can only be changed in non-published apps.
If you want to change the theme in an already published app:
- make a DEV copy of the app in your own workspace on the server
- applied the new theme
- then republish it