Sharepoint mpmX Repository
It is not always necessary to store the relevant resources from the mpmX_repository directory on the internal fileshare. It is also possible to store them in a sharepoint directory to allow users to edit the parameters (happy paths, subprocesses, groups, translations, etc.) more easily.
As a result, it is no longer mandatory to store the mpmX_repository directory locally and create the folder connection as described under Install mpmX analytics. However, for performance reasons (e.g. network issues/speed to Sharepoint), an mpmX_repository on the internal fileshare is still recommended.
The following section explains how to set up the Sharepoint connection:
-
Preparations in Sharepoint
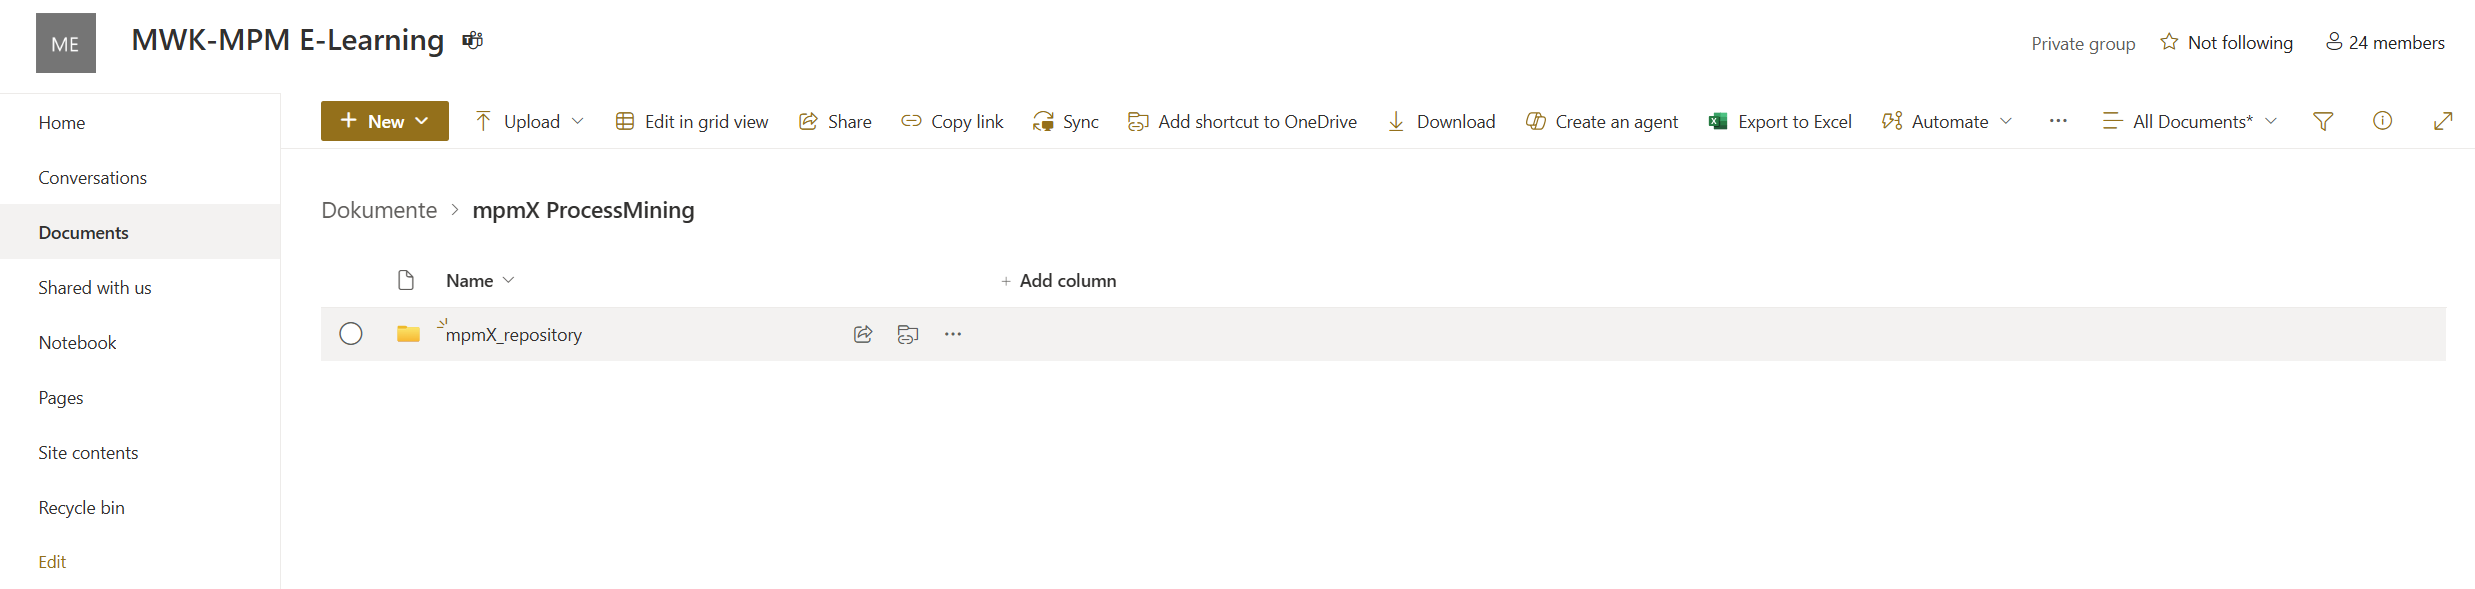
- Log in to your Sharepoint and go to the desired site or directory, or create a site if you have not already done so.
- Place the mpmX_repository folder and its contents under (shared) documents.
Sharepoint Folder Structure - If you have not already done so, create a subfolder based on your ProcessDescription that is similar to the ExampleProcess directory.
- The following files should be contained in your ProcessDescription directory:
- The mpmX_config_repository.xlsx file.
- To make further process-specific settings (e.g. MasterItems, Translations or maintenance of a HolidayCalendar), the corresponding additional files must be included and maintained as XLSX- or CSV-Files.
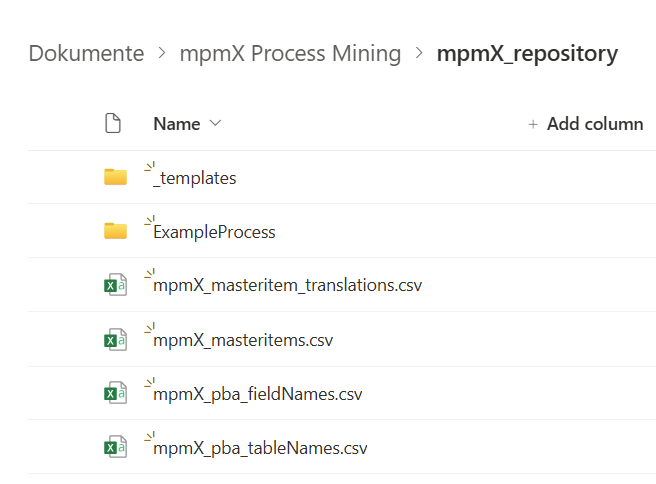
Sharepoint mpmX_repository Subfolder 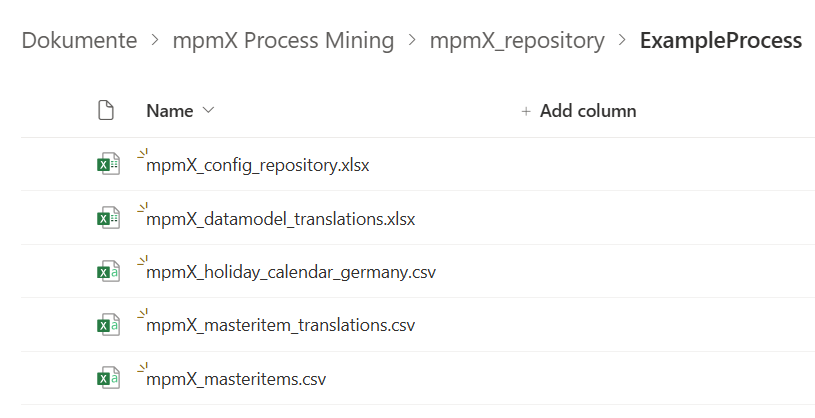
Sharepoint ExampleProcess Subfolder
-
Import the mpmX TemplateApp
- If you have already imported an mpmX TemplateApp, you can skip this step and continue with step 3.
- In the downloaded mpmX installation bundle you will find the file mpmX TemplateApp [[version]].qvf in the mpmX_apps folder.
- Depending on the installation type, this must now be imported via the mpmX Management Console (QMC) for on-prem installations or uploaded via the mpmX Hub for cloud installations (for more information, see Install mpmX analytics).
-
Create the Office 365 Sharepoint data connection
-
Go to the Hub and open the imported mpmX Template App [[Version]].
-
Select Create new connection at the top right-hand corner.
-
Then search for the Office 365 Sharepoint connector in the selection.
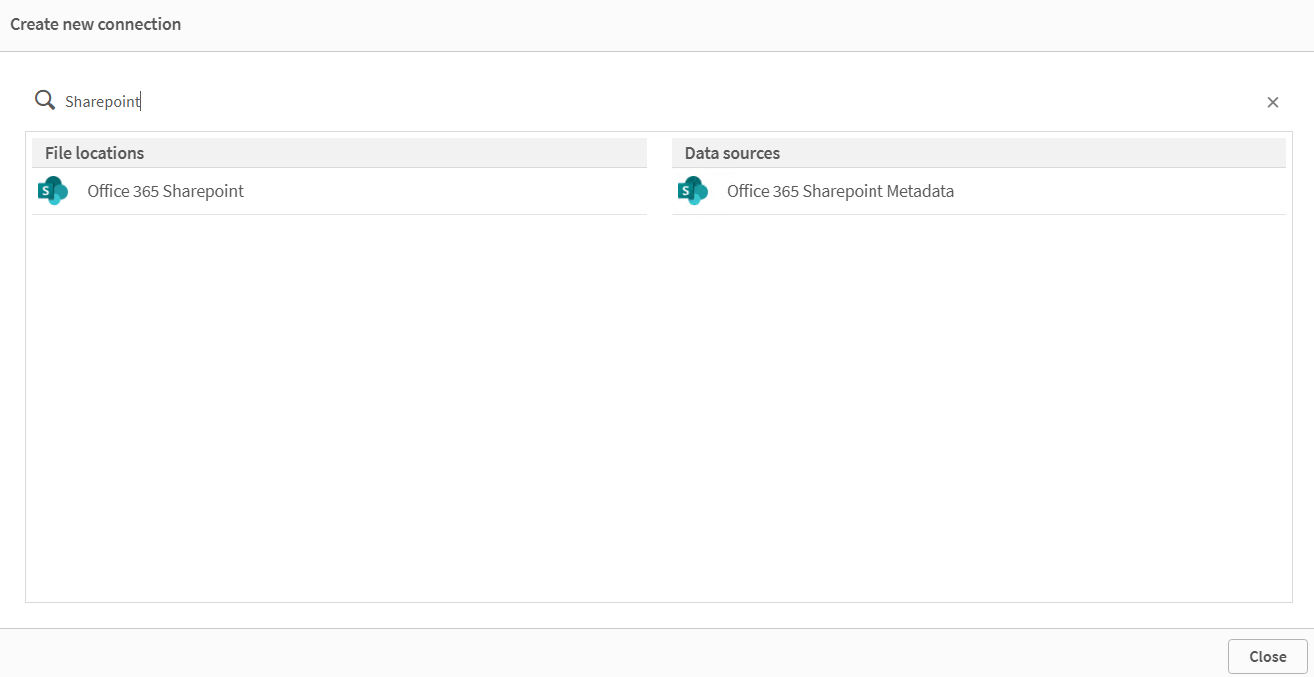
Sharepoint Data Connections -
Enter your individual connection properties and credentials.
-
Name the data connection appropriately, e.g. ‘mpmX_sharepoint_repository’ and save it.
💡 Note: In some cases, it may be necessary to set an encryption key before you can use the Sharepoint connection and complete the login (for more information see: https://help.qlik.com/en-US/connectors/Content/Connectors_Home/Setting-encryption-key.htm)
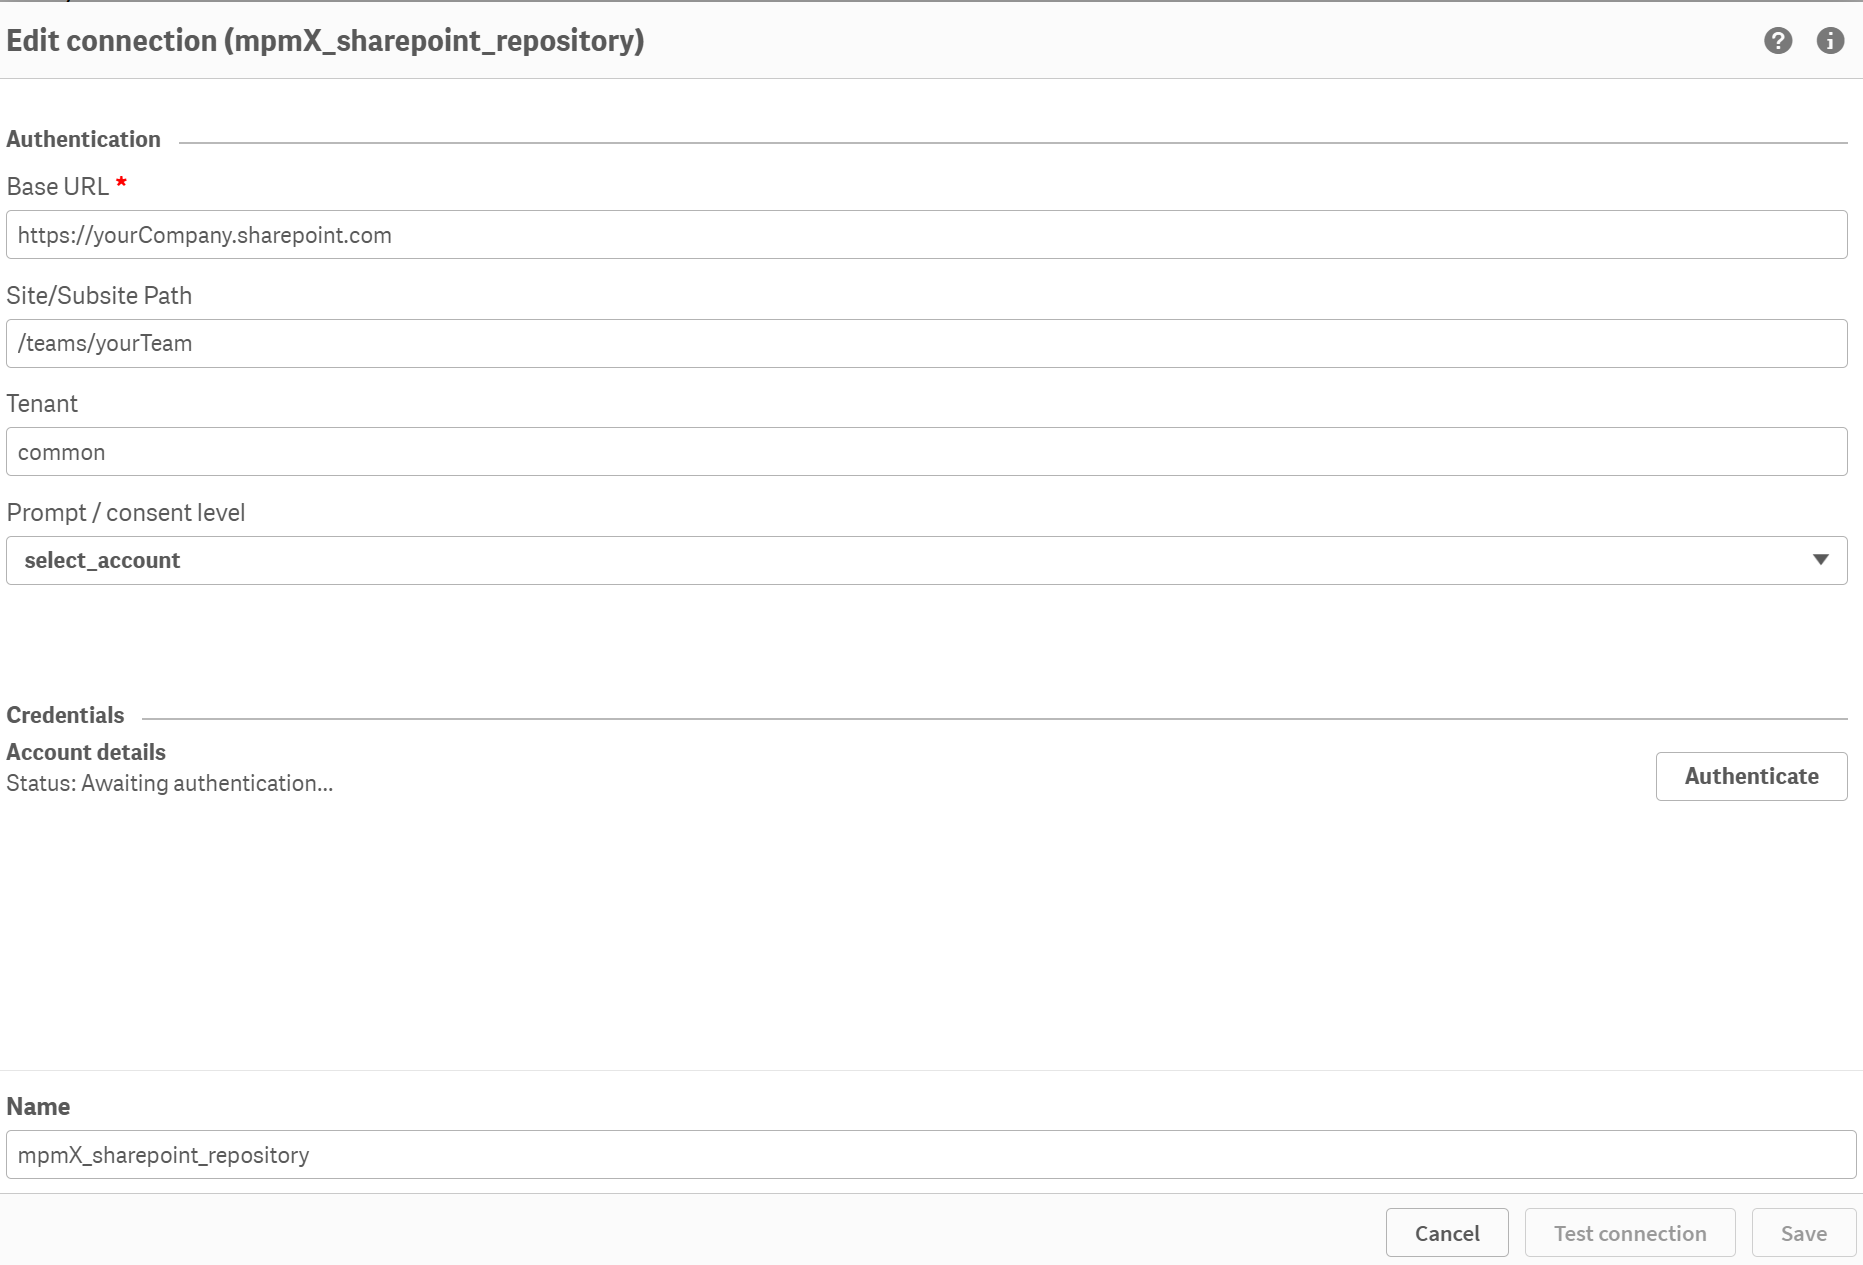
Sharepoint Data Connection Properties -
-
Create the Office 365 Sharepoint Metadata data connection (similar to point 3)
- Select again Create new connection at the top right-hand corner.
- Then search for the Office 365 Sharepoint Metadata connector in the selection.
- Enter your individual connection properties and credentials.
- Name the data connection appropriately, e.g. ‘mpmX_sharepoint_repository_Metadata’ and save it.
-
Parameterising the script file (.qvs)
- Optional: As a quick start, you can copy the file custom_logic_sharepoint from the folder mpmX_scripts/[[version]]/customizing/_templates into your process specific customizing folder mpmX_scripts/[[version]]/customizing/[mvProcessDescription].
- Open your custom_logic script file, which you wish to have executed later by the template app.
- Now the following parameters must be inserted at the beginning of the sub
mpmX_execute(if not already done) and must be edited:
LET mpmXvRepositoryType = 'Sharepoint';


SET mvSharepoint = 'mpmX_sharepoint_repository'; // default setup (mpmX local repository!); remote mpmX_sharepoint_repository
SET mvSharepointMeta = '$(mvSharepoint)_Metadata'; // metadata connector con. name => mpmX_sharepoint_repository_Metadata or $(mvSharepoint)_Metadata
SET mvSharepointIntermediateFolder = '/Documents/mpmX ProcessMining/mpmX_repository/$(mvProcessDescription)/'; // if there is an intermediate folder between the Sharepoint site and the mpmX base folder
SET mvSubSite = '/teams/yourTeam'; // adapt to customer environment

LET mpmXvRepository = 'lib://$(mvSharepoint)$(mvSharepointIntermediateFolder)';- The variable
mpmXvRepositoryTypeoverwrites the default valuesINLINE_QVSorINLINE_APPto defineSharepointas the desired RepositoryType. - The variable
mvSharepointis set to specify the name of the Office 365 Sharepoint connection created under point 3. In our case, this ismpmX_sharepoint_repository. - The variable
mvSharepointMetacan be seen analogue to variablemvSharepointand names the Office 365 Sharepoint Metadata connection to be used, which is in our casempmX_sharepoint_repository_Metadata. - The variable
mvSharepointIntermediateFoldercan be used to define the subpath to the process specific mpmX repository folder, if there is an intermediate folder between the Sharepoint site and the mpmX base folder (e.g./Documents/mpmX ProcessMining/mpmX_repository/$(mvProcessDescription)/) - The variable
mvSubSitecan be edited to customize your specific Sharepoint environment/site
-
Finally, go back to Prepare | Data load editor inside your mpmX Template App [[Version]] and check whether the appropriate custom_logic script file will be called (via parameter
mpmXvAppConfigAlias). -
Press Load data on the top right corner to reload the data with the mpmX repository information from Sharepoint.