Install mpmX analytics
Requirements
Install Qlik Sense®
In order to use MEHRWERK ProcessMining, a Qlik Sense® environment is neccessary.
Before installing, it's important to decide which version of Qlik Sense® is best suited. You can find an overview of the different versions and explanations for each installation in the Qlik help:
Qlik Sense® releases & deployments
-
By default, all Qlik Sense® versions of the last 12 months are supported
-
The deployment on Qlik Sense® Enterprise on Windows as well as Qlik Cloud® is fully supported.
-
You can access the Qlik downloads, based on the latest releases and patches, here at the Qlik Community Downloads page.
Supported browsers
- Google Chrome (recommended)
- Apple Safari 10 or later
- Mozilla Firefox (requires a hardware acceleration, not supported in virtual environments)
How to install mpmX
1. Download your mpmX bundle
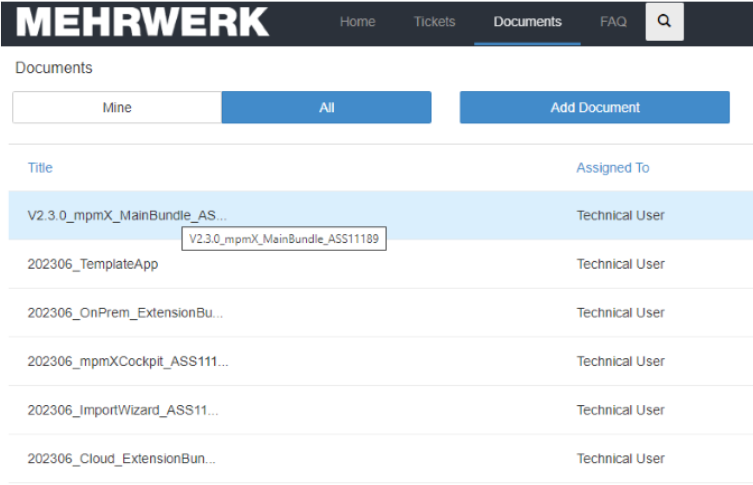
The installation bundle can be downloaded in the mpmX Support Portal https://portal.mehrwerk.net/. Login to the support portal, navigate to the section Documents and select "All" as shown in the screenshot below. You can then download all the installation files from the latest release.
The ZIP-file [[version]]_mpmX_MainBundle_ASS12345.zip is provided with the following content:
mpmX_apps
- mpmX SAP Change Log Extract [[version]].qvf
- mpmX TemplateApp TaskApp [[version]].qvf
- mpmX TemplateApp OCPM [[version]].qvf
- mpmX TemplateApp SQL-Backend [[version]].qvf
- mpmX TemplateApp [[version]].qvf
- mpmX TemplateApp Wizard [[version]].qvf
For a description of each app go to The mpmX Apps inside the Installation Bundle page.
mpmX_data
- event_logs
- mpmXData.qvd
- mpmXData4OCPM.qvd
- process_analytic_models
- process_models.txt
mpmX_repository
-
_templates
- mpmX_config_repository.qvs
- mpmX_config_repository.xlsx
- mpmX_datamodel_translations.xlsx
- mpmX_holiday_calendar_germany.csv
- mpmX_masteritem_translations.csv
- mpmX_masteritems.csv
- mpmX_SAP_changelog_filter.xlsx
-
ExampleProcess
- This folder has the same first six files as above.
-
mpmX_masteritem_translations.csv
-
mpmX_masteritems.csv
mpmX_scripts
- < version >
- customizing
- _templates
- custom_logic_*.qvs (15 different files)
- custom_variables.qvs
- ExampleProcess
- README.md
- _templates
- mpmX_impl
- core scripts (DO NOT CHANGE)
- mpmX_api.qvs
- mpmX_environment.qvs
- customizing
- README.md
-
mpmX_Cloud_Extensions_[[Assetnumber]]
-
mpmX_Cockpit_[[Assetnumber]]
-
mpmX_ImportWizard_[[Assetnumber]]
-
mpmX_OnPrem_Extensions_[[Assetnumber]]
The mpmX_[[Deployment]]_Extensions_[[Assetnumber]].zip includes:
- AppObjectImporter
- BasicFunctions
- BPMNModeler
- DialogBox
- GroupedContainer
- GuidedTour
- LeadTimeFilter
- MasterScript
- mpmXTheme
- NGProcessActivityFilter
- ProcessAnalyzer
- ProcessModeler
- ProcessVariantsInspector
- QueryBuilder
- StateToStateButton
The mpmX_ImportWizard_[[Assetnumber]].zip includes:
-
BPMNImportWizard
-
ImportWizard
The mpmX_Cockpit_[[Assetnumber]].zip includes:
- mpmXCockpit
To get more information on the Folder Structure and the respective folders you can look at our entry "Folder Structure".
2. Install mpmX
- OnPrem
- Cloud
- Create the following folder structure in your fileshare by copying the folders received in the installation bundle:
-
mpmX ProcessMining
- mpmX_data
- mpmX_scripts
- mpmX_repository
tipIt is not always necessary to store the relevant resources from the mpmX_repository directory on the internal fileshare. It is also possible to store them in a sharepoint directory to allow users to edit the parameters (happy paths, subprocesses, groups, translations, etc.) more easily. Here you will find more information on setting up a Sharepoint mpmX repository how it is done.
-
Import the mpmX_OnPrem_Extensions_[[Assetnumber]].zip via the mpmX QMC (https://[[serverURL]])
-
Import the mpmX TemplateApp/Apps via the mpmX Management Console (QMC). The apps need to be imported individually.
For better management of the extensions you can create an “mpmX” tag.
Read here on how it is done:
- Go to the “Tag” section in the qmc (https://[[serverURL]]/qmc/tags)
- Create a new tag and name it “mpmX”
- Go back to the extension section, select all the extensions you just imported, and click “Edit”. Then go to “Tags” on the right side and add “mpmX”. Now you can use the tag to filter on all mpmX extensions. You can also apply the tag for the imported apps.
There are multiple ways to create the following folder structure on a fileshare such as Sharepoint or AWS S3 Bucket. We recommend a Sharepoint folder if you have O365 because it is easy to set access rights. Then, you can edit the scripts locally on your laptop and it will be synced to the cloud.
- mpmX_data
- mpmX_repository
- mpmX_scripts
- First extract the files from mpmX_Cloud_Extensions_[[Assetnumber]].zip
- Import every individual extension zip file (except the mpmXTheme) via the mpmX management console (https://[[serverURL]]/admin/extensions).
- Click “Add” and then select the extension you want to import.
For better management of the extensions you can create an “mpmX” tag.
Read here on how it is done:
- Go to the “Tag” section in the qmc (https://[[serverURL]]/qmc/tags)
- Create a new tag and name it “mpmX”
- Go back to the extension section, select all the extensions you just imported, and click “Edit”. Then go to “Tags” on the right side and add “mpmX”. Now you can use the tag to filter on all mpmX extensions. You can also apply the tag for the imported apps.
-
Go to https://[[serverURL]]/admin/themes
- Click “Add” and select the “mpmXTheme”.
- Use “mpmX” as a tag.
-
Import the mpmX TemplateApp/Apps via the mpmX hub.
- The apps need to be imported individually.
- Click “Add new” and then select “Upload”.
- Choose the app you want to import and select the space you want to import it too.
- Add the tag “mpmX” and click “Upload”.
3. Setup Data Connections
- OnPrem
- Cloud
First you need to create a connection to load your data.
-
Go to the Hub and open the mpmX Template App [[Version]]
-
Open the data load editor by clicking on Prepare | Data load editor in the top on the left.

Data Load Editor -
Create an mpmX data connection:
-
Click Create new connection on the top right side
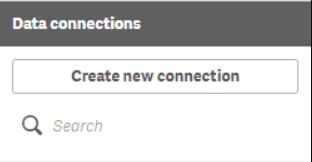
Create New Connection -
In the pop-up window, select Folder under the File Locations section.
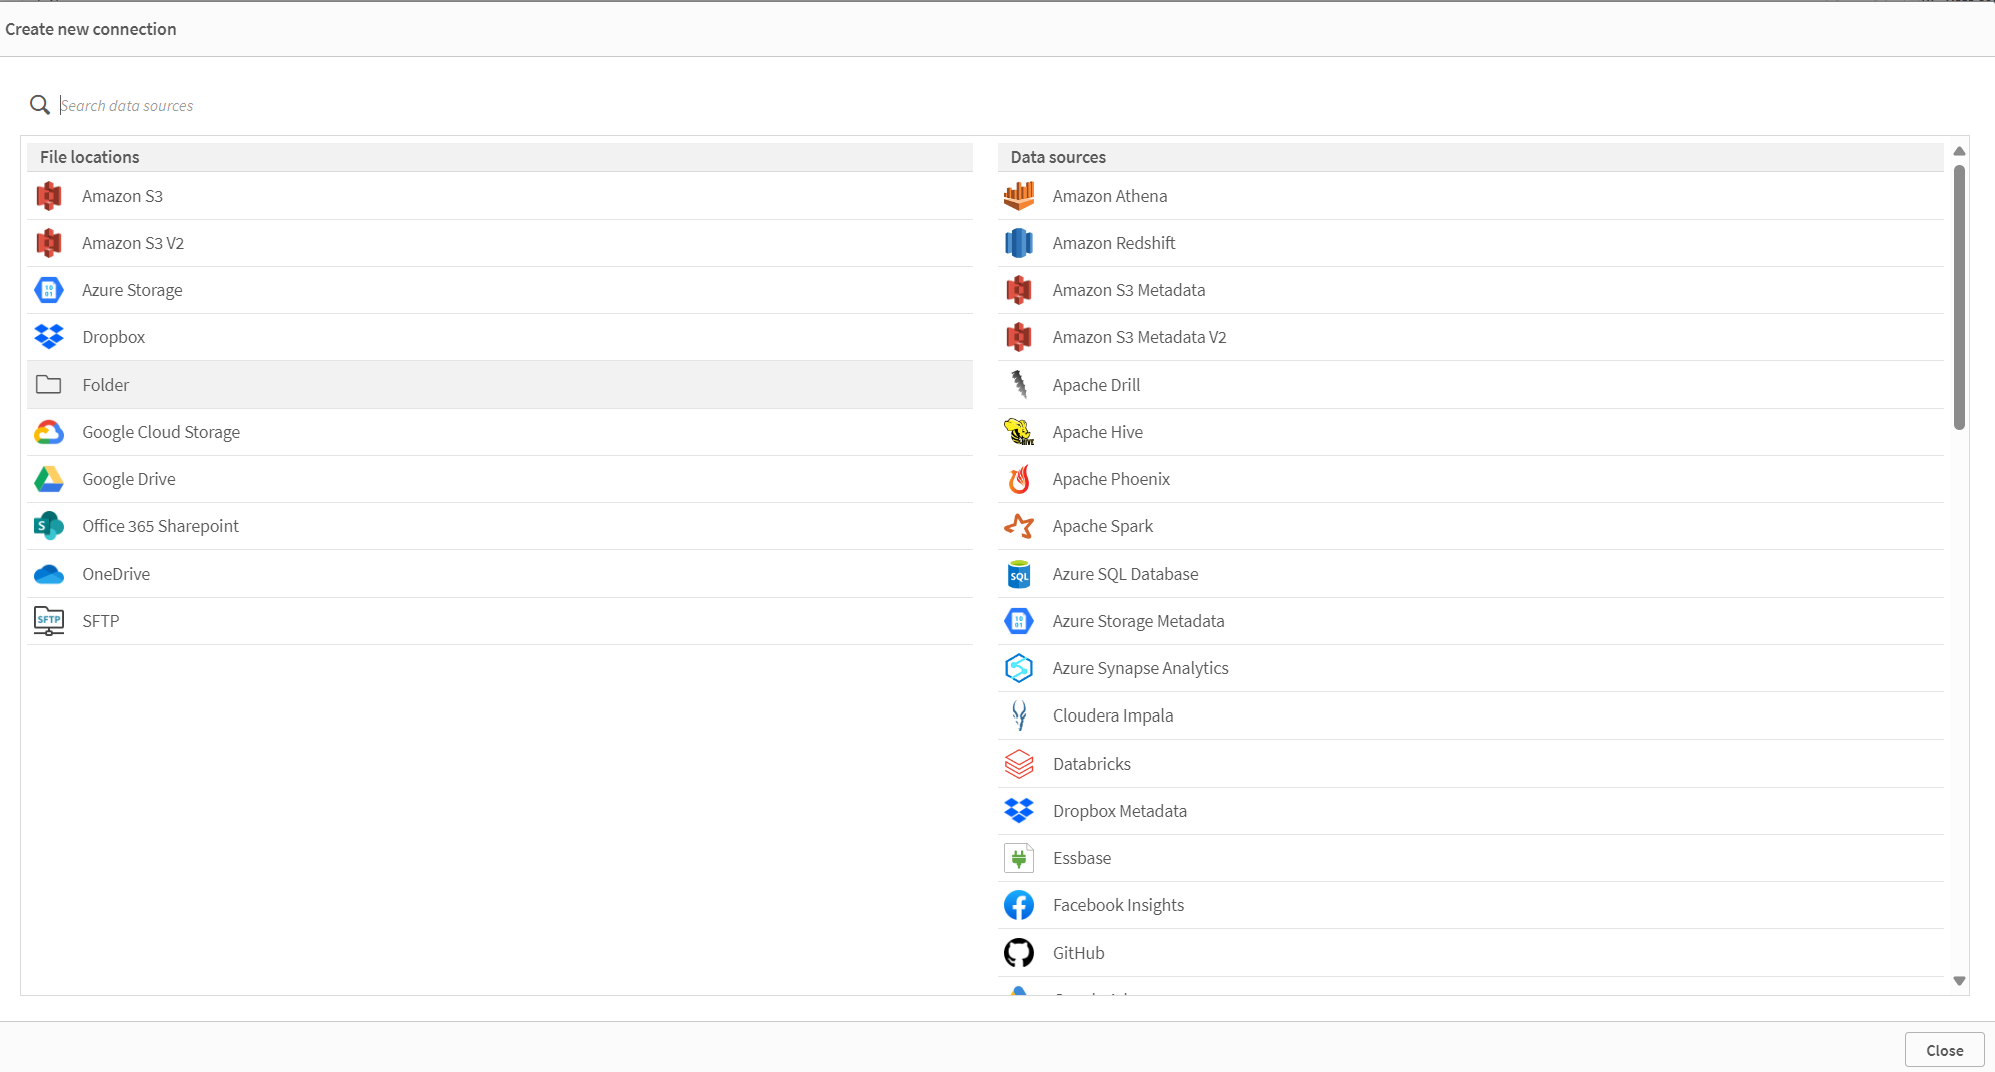
Connections Sources -
Search for the location where you stored the related folder (e.g. mpmX_data) during the installation and select the folder.
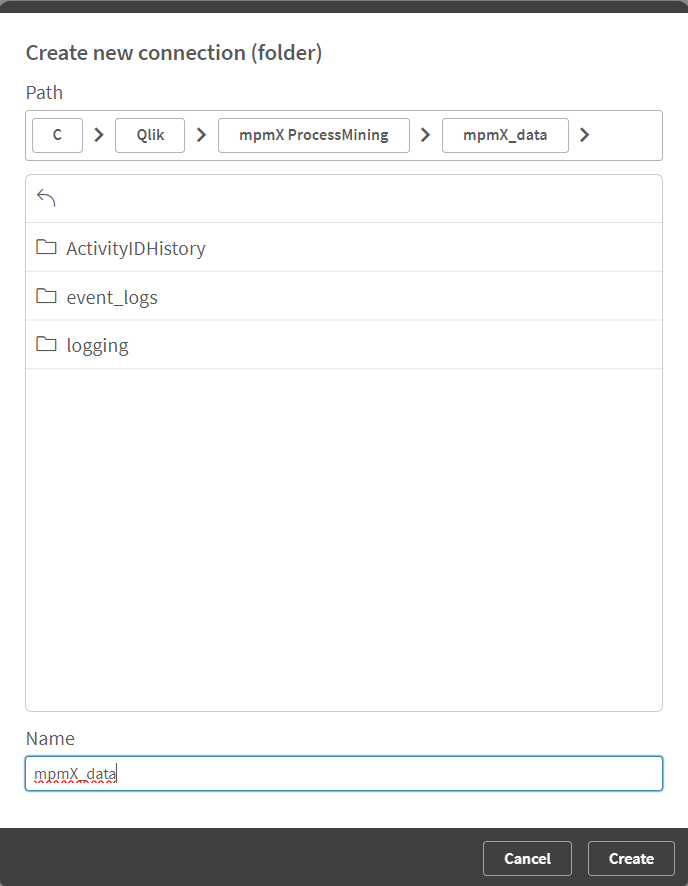
Connection Data Create -
Name the connection accordingly (e.g. mpmX_data) and click on Create.
-
Give the required users access rights to the space to allow them to use the data connection.
-
Repeat this step for mpmX_scripts and mpmX_repository.
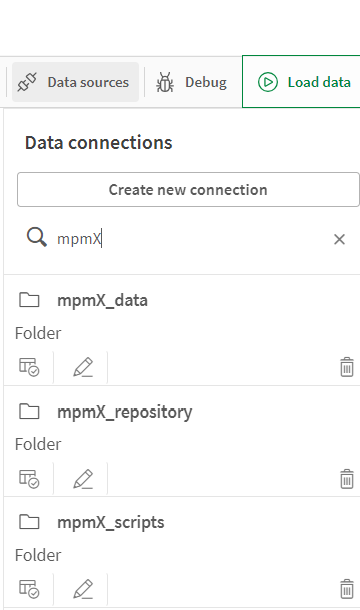
All Data Connections
- Click Load data and the app should be reloaded with the test data set.
First you need to create a connection to load your data.
-
Go to the Hub and open the mpmX Template App [[Version]]
-
Open the data load editor by clicking on Prepare | Data load editor in the top on the left.
Data Load Editor -
Create an mpmX data connection:
-
Click Create new connection on the top right side
Create New Connection -
In the pop-up window, select Folder under the File Locations section.
Connections Sources -
Search for the location where you stored the related folder (e.g. mpmX_data) during the installation and select the folder.
Connection Data Create -
Name the connection accordingly (e.g. mpmX_data) and click on Create.
-
Give the required users access rights to the space to allow them to use the data connection.
-
Repeat this step for mpmX_scripts and mpmX_repository.
4. Initial Configuration
There are some general settings you have to configure to prepare the Template App.
The call mpmX_execute is mandatory. If you were using an older template, please modify your app code to look like this:
SET mpmXvVersion = 'V2.6.0';
SET mpmXvScripts = 'lib://mpmX_scripts/$(mpmXvVersion)/';

LET mvProcessDescription = 'ExampleProcess';
SET mpmXvAppConfigAlias = '';

$(Must_Include='$(mpmXvScripts)mpmX_api.qvs');
SET mpmXvRepositoryType = 'INLINE_QVS';
call mpmX_execute;

exit script;